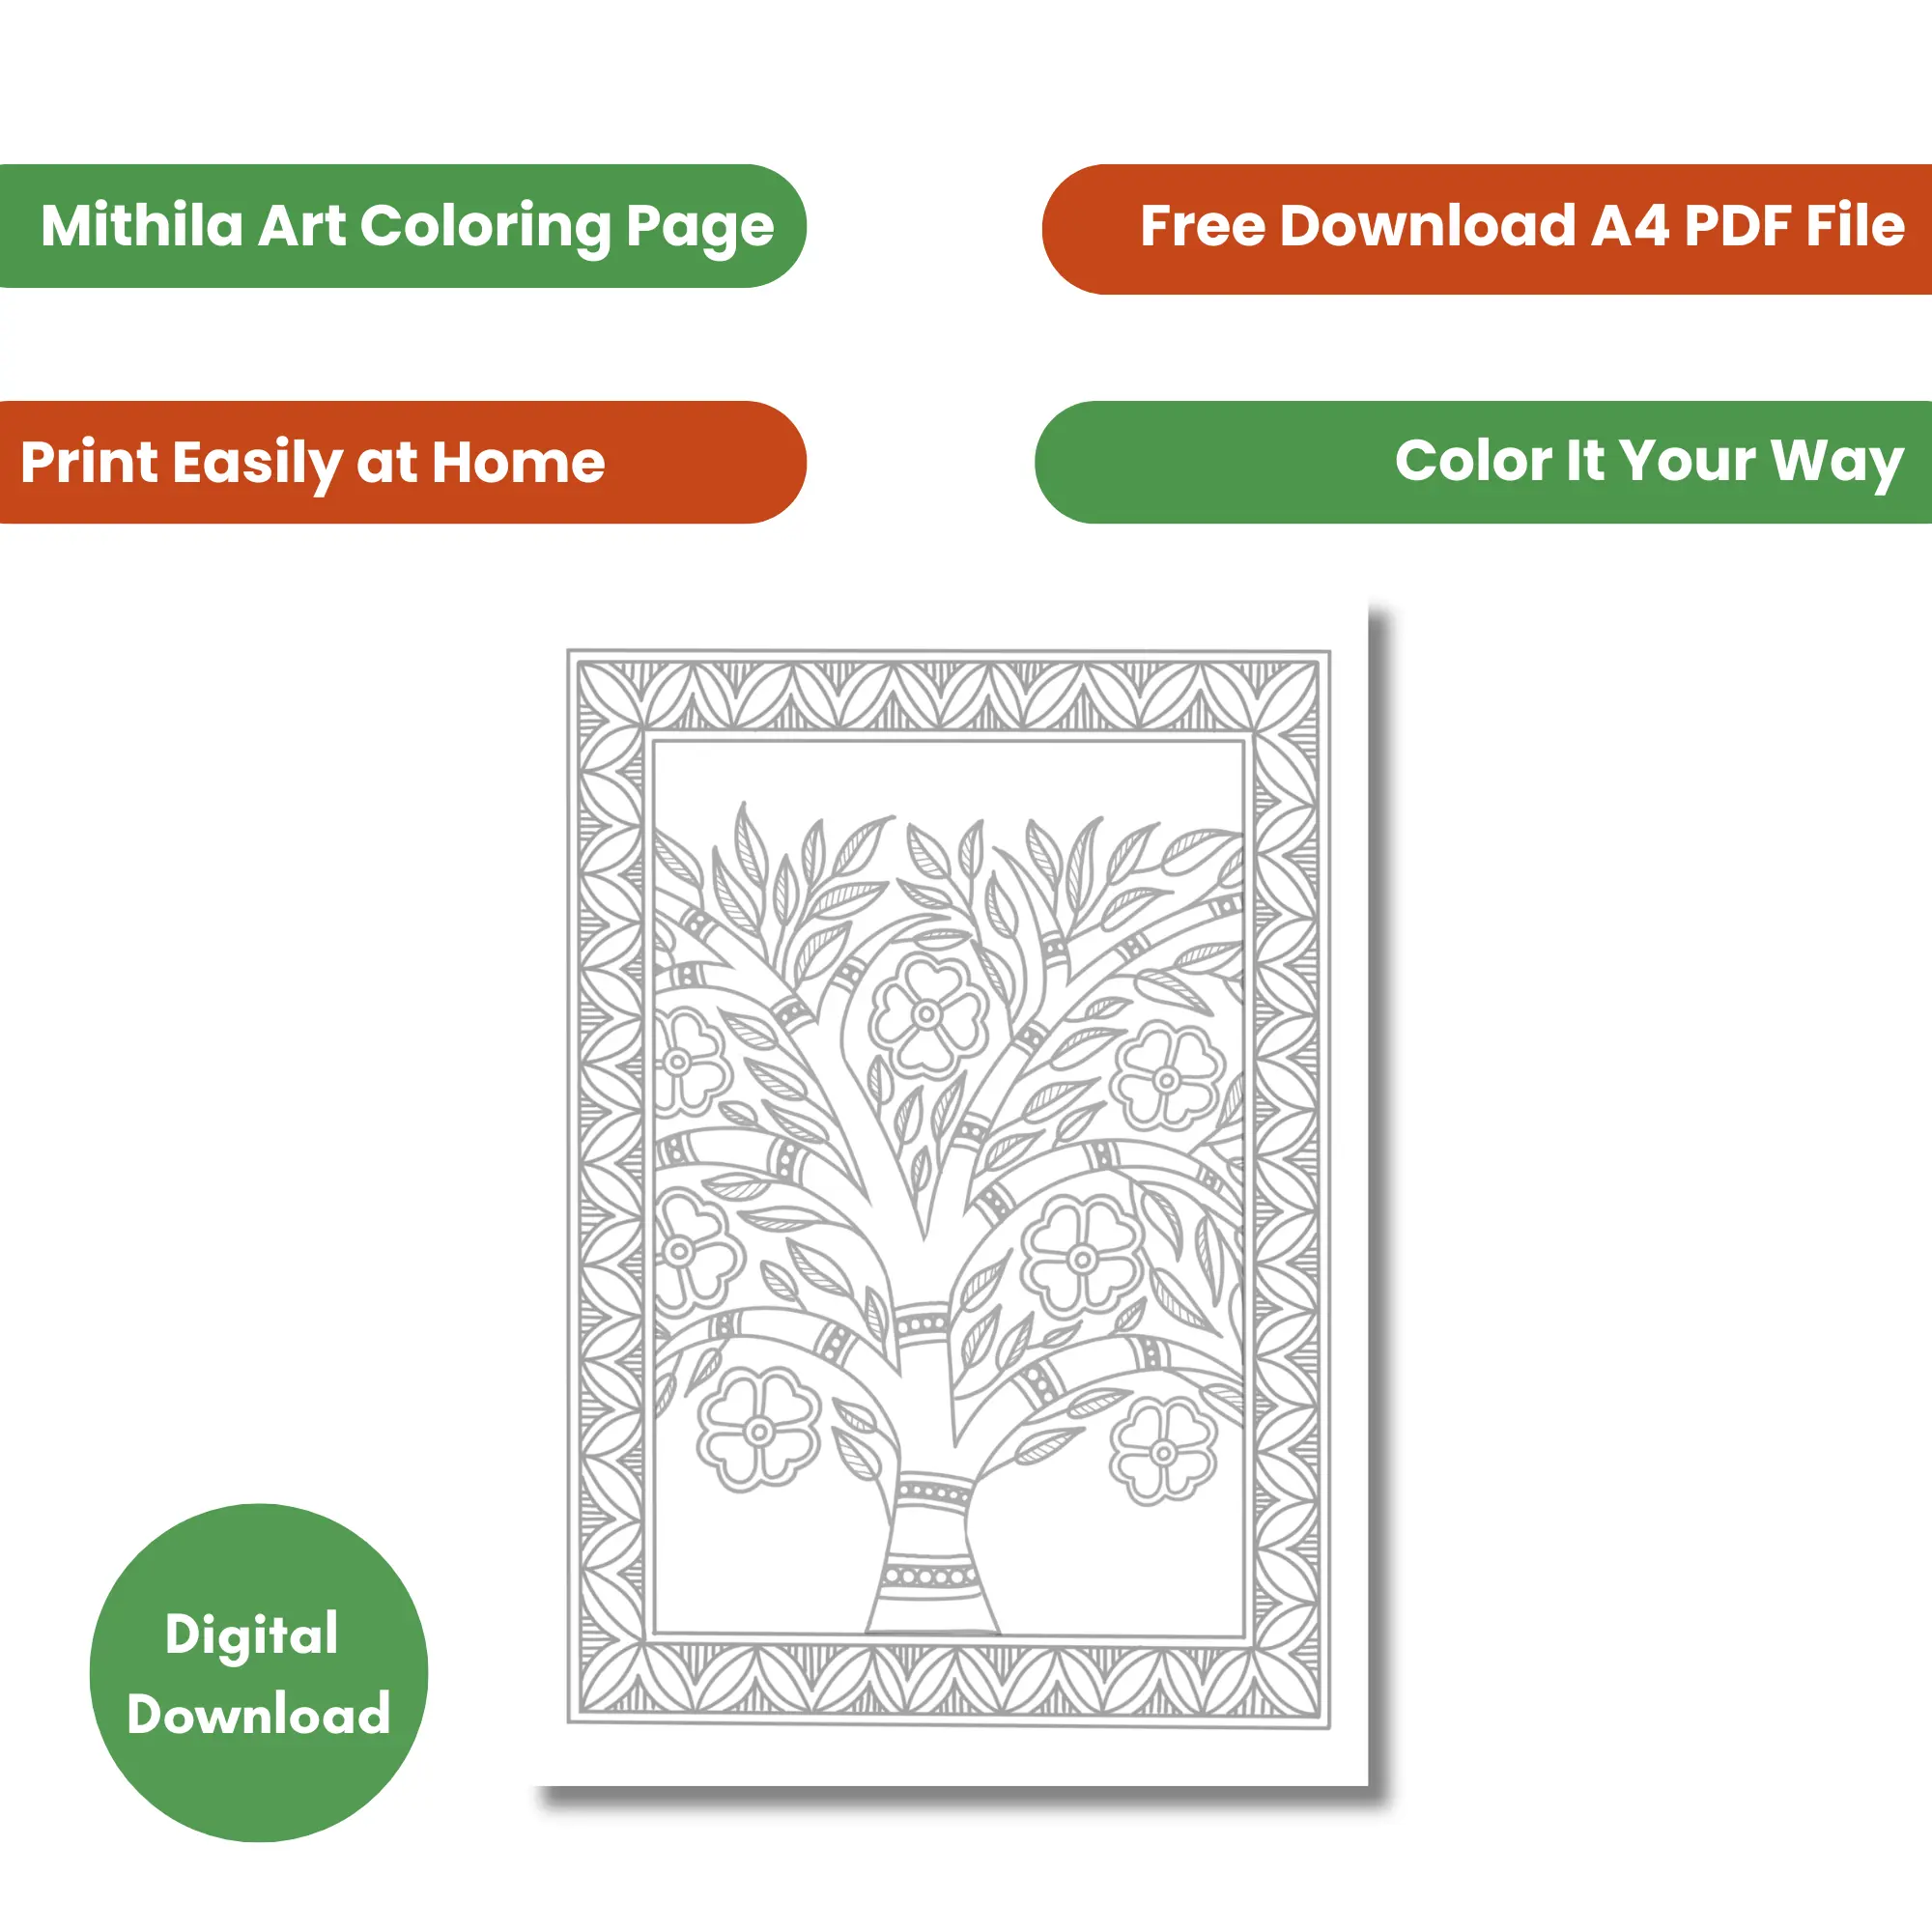

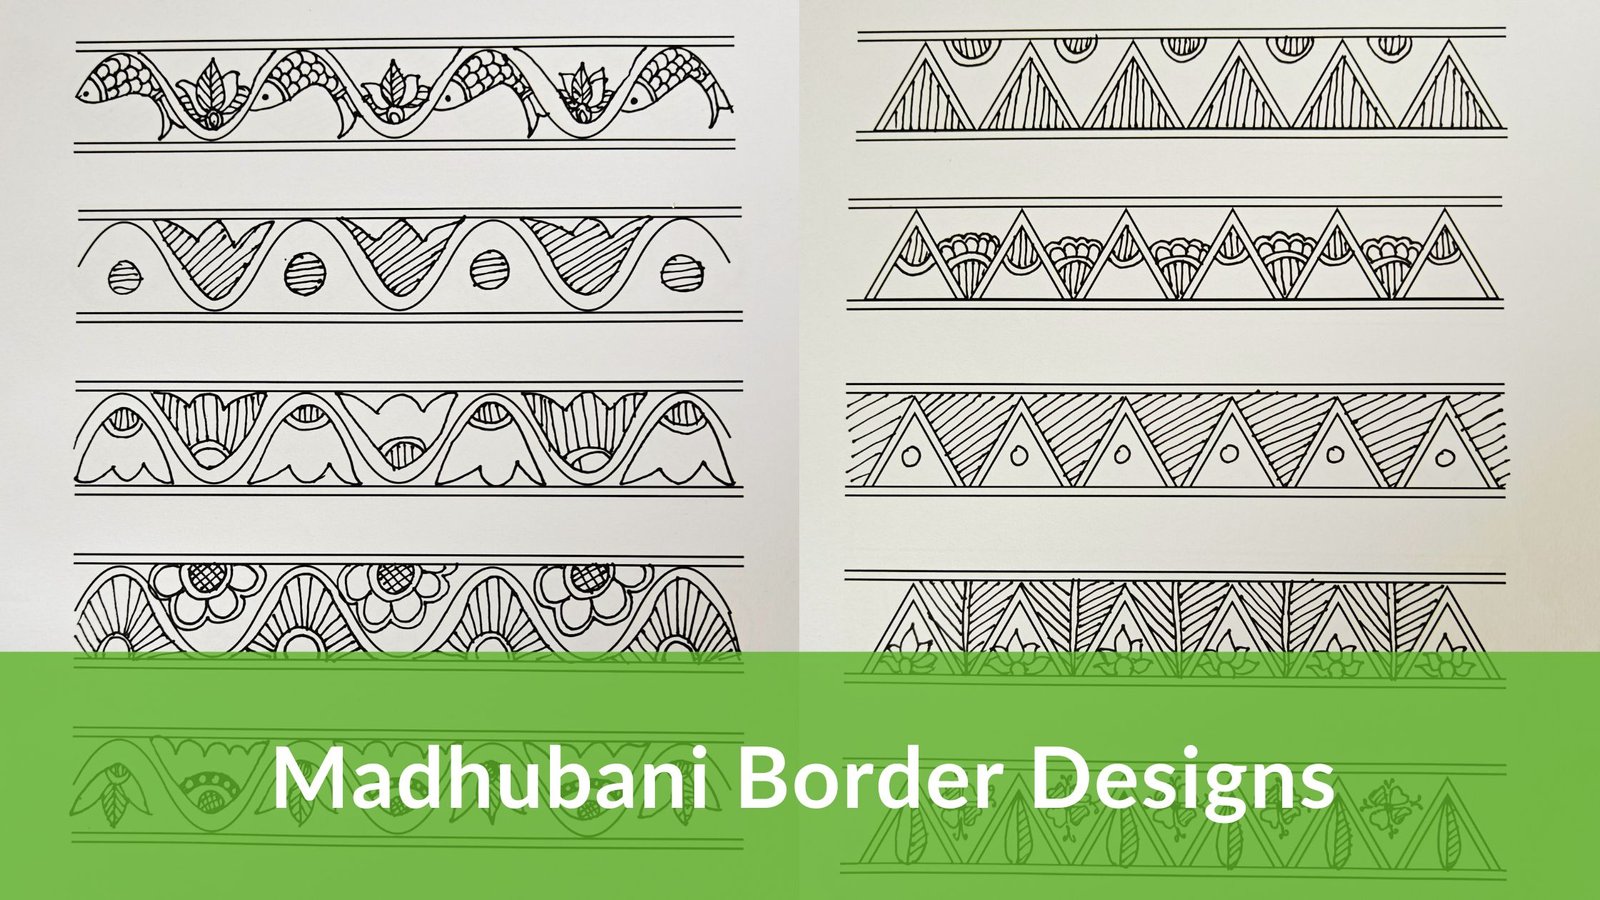
A border is often one of the first things drawn in a Madhubani painting. Before the central fish, lotus, peacock, tree, or other motif takes shape, the border helps define the space where the painting will live.
And while some Madhubani painting borders look intricate, many are built from surprisingly simple shapes and patterns. A triangle, circle, leaf, wave, or flower can become a repeating border with just a few lines, dots, and details.
If you’re learning Madhubani art or looking for a Madhubani border design for a project, understanding how these simple elements come together can make borders much easier to draw.
In this guide, we’ll look at what borders do in Madhubani painting, their significance, the shapes and patterns commonly used to create them, and how you can use these building blocks to make your own borders.
What Is a Border in Madhubani Art?
A border in Madhubani art is a patterned line or band that defines the edge of a painted area. It creates a visual boundary around the central artwork and separates it from the surrounding wall, paper, or other surface.
In many traditional paintings, the border is established before the central composition is filled in. It gives the artist a defined space to work within and helps create a sense of structure and balance.
Think of it as creating the frame before filling in the picture. A Madhubani art border can be made using:
- Parallel double lines
- Dots
- Geometric shapes
- Floral and natural motifs
- Waves and zigzags
- Repeated motifs such as fish, lotus, leaves, birds, and flowers
A border doesn’t have to be elaborate to work well. Its job is to frame the artwork without taking attention away from what is inside it.
Significance of Borders in Madhubani Painting
Borders in Madhubani painting are not simply decorative additions.
In traditional Mithila painting, particularly in ritual paintings, a border helped define the limits of the painted space. It separated the central imagery from the surrounding wall or surface and gave the composition a clear visual boundary.
This is particularly relevant to paintings such as the Kohbar, created for weddings. The central imagery of a Kohbar carries ritual and symbolic significance, with motifs associated with fertility, prosperity, protection, and an auspicious married life. The border helps contain this imagery within a defined painted space.
So, while a border may look ornamental, it can also be understood as part of how the painting establishes and completes its space.
Today, Mithila painting borders are also widely used for their decorative and compositional qualities. You can find them around paintings on paper and walls, as well as on textiles, cards, and other creative surfaces.
The purpose may vary with the context, but the basic idea remains: the border gives the painting a boundary and helps hold the composition together.
How to Draw Madhubani Borders?
You don’t need to memorize dozens of border designs to get started. Many traditional Madhubani borders can be approached through a few basic ideas: outline, fill, and repeat.
Start with an outline.
A shape or motif usually begins with its outline.
It could be as simple as a triangle, circle, leaf, diamond, or wave. More detailed motifs such as flowers and fish can also become the basic unit of a border.
Add lines, dots, or other details.
Once the outline is in place, you can decorate the shape in different ways.
Fine, closely spaced lines are characteristic of the Kachni style of Madhubani painting. Lines can run vertically, horizontally, diagonally, or follow the motif’s form.
Dots are another simple way to add texture. Place them inside a shape, along its edges, or between repeated motifs.
You can also add smaller shapes (circles, triangles, leaves, petals, or other geometric elements) inside or around the main shape.
Add color as another layer to bring the shapes and patterns to life.
Repeat the unit.
The final step is repetition.
Instead of designing the entire border at once, create one small unit and repeat it across the space.
For example:
triangle → triangle → triangle → triangle
or
flower → vertical lines → flower → vertical lines
or
wave → wave → wave → wave
Once you have a repeat that works, you can extend it for as long as your border needs to be.
This simple idea of shape + detail + repetition is enough to create countless Madhubani border designs.
Common Shapes and Patterns Used in Madhubani Borders
Many beautiful Madhubani borders are made using simple shapes rather than complicated motifs. Some useful building blocks include:
- Triangle
- Lines
- Circle
- Semicircle
- Arch
- Leafs
- Square
- Diamond
- Wave
- Flower
You can use these shapes as outlines and then develop them with different patterns.
A triangle can be filled with fine lines. A circle can contain dots. A leaf can be divided into sections. A flower can be surrounded by smaller shapes. Two leaves can be repeated as a pair. A wave can continue as a flowing line across the length of the border.
The same shape can therefore produce several different simple Madhubani borders, depending on how you fill, space, and repeat it.
For example, a row of plain triangles gives you one pattern. Fill the triangles with diagonal lines, and it becomes more detailed. Add dots between them, place smaller shapes inside them, or alternate their direction, and the border changes again.
This is why border design is a good place to start if you’re new to Madhubani painting. You can start with a simple shape and gradually experiment with patterns rather than trying to draw a complicated motif from the beginning.
Playing With Shapes to Create Madhubani Borders
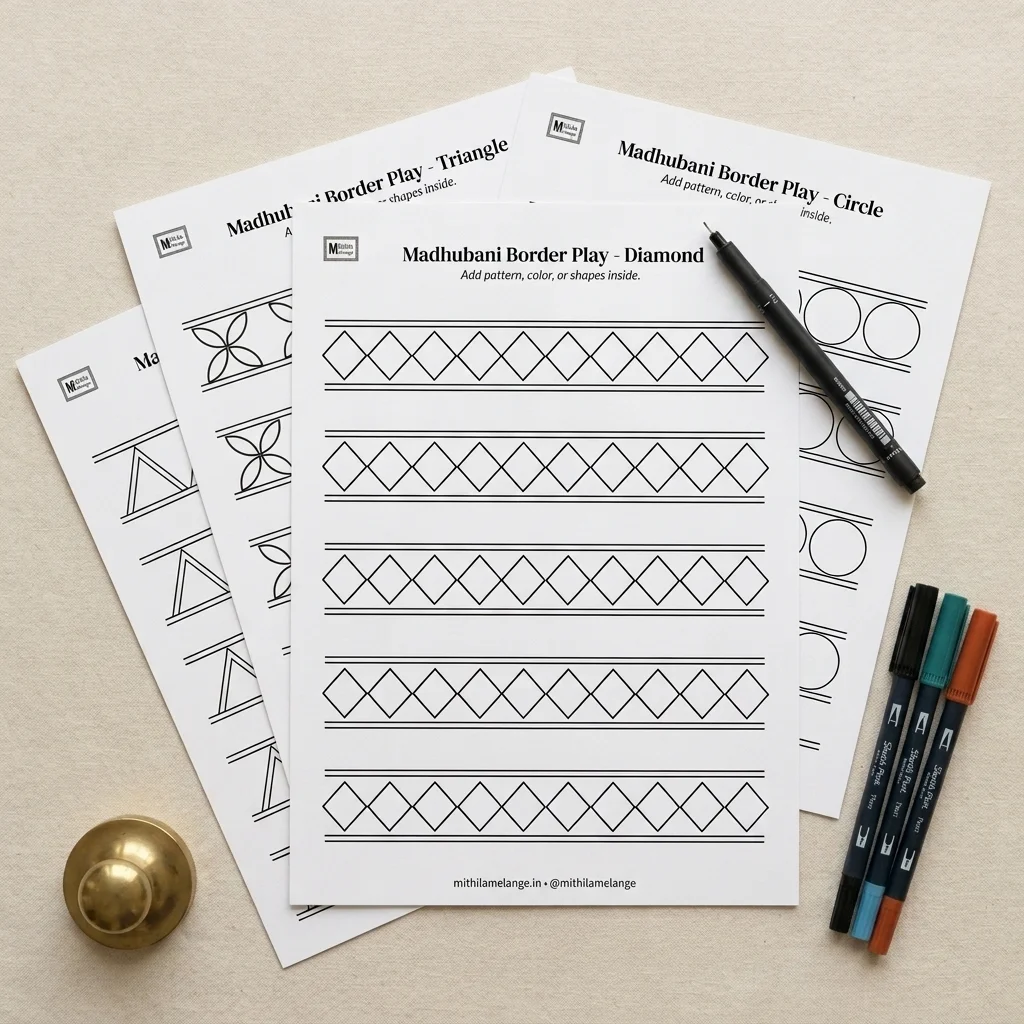
This is the idea behind our Madhubani borders practice sheets.
The sheets use ten basic shapes as starting points for creating border patterns.
The aim isn’t simply to color in the shapes. You can use each one as a starting point and experiment with different ways of developing it.
Try filling the shapes with:
- Fine lines in different directions
- Dots
- Smaller geometric shapes
- Leaves or petals
- Combinations of lines and dots
- Colors of your choice
Then experiment with how you repeat them… side by side, alternating directions, or with another shape between each repeat.
A triangle can become a simple geometric border. A series of arches can create a softer, more flowing pattern. Leaves and flowers can make a more organic border, while waves can add movement. And colors add life to the borders.
We’ve used a black fine-tip marker in our examples, but you can use a black pen or paint for the outlines and fill the patterns with any colors you like.
You can also combine different units to create your own Madhubani border designs.
Here are some examples of the patterns you can create from these basic shapes.
From Simple Shapes to Motif-Based Borders
Once you’re comfortable working with basic shapes, you can use the same principle with familiar Madhubani motifs.
A lotus, for example, can become a repeating floral unit. You can make a simple Madhubani lotus border by repeating the flower at regular intervals and decorating the petals with lines or dots.
The same applies to fish. Repeat a simplified fish along a line to create a Madhubani fish border, using dots, fine lines, or other small patterns to decorate the body. Depending on the context, fish in Madhubani art also symbolize fertility, abundance, prosperity, and good fortune.
The important thing is not to make every motif highly detailed. A motif becomes a border when you repeat it consistently enough to create a visual rhythm.
Beautiful Madhubani Borders Need Consistent Spacing
You may think that beautiful Madhubani borders need complicated motifs. They don’t.
A simple pattern can look much more polished when the spacing is consistent. Think about:
- The distance between repeated motifs
- The size of each motif
- The thickness of your lines
- The space between parallel lines
- The placement of shapes/motifs
- The space between the border and the central artwork
If one triangle is much larger than the next, or one flower is crowded while the next has too much empty space, the pattern can feel uneven.
But when the shapes and spaces have a steady rhythm, even a very simple pattern can look intentional.
This is why practicing easy Madhubani borders can be more useful than trying to copy an elaborate design straight away.
Start with one shape. Repeat it. Then experiment with how you fill it.
Practice Madhubani Borders With Our Printable Sheets
Want to practice creating your own Madhubani painting borders?
Our Madhubani borders practice set printable gives you simple shapes to work with, so you can focus on the fun part: turning them into patterns.
All you need to do is print them. Fill them with Kachni-style lines, dots, smaller shapes, or colors. Then experiment with repetition, spacing, and combinations to create your own simple Madhubani borders.
Practice Madhubani Border Designs →
Whether you’re learning Madhubani painting, making something for a school project, or simply want to practice the patterns, start with one shape and see where it takes you.
Frequently Asked Questions About Madhubani Borders
What are Madhubani painting borders?
Madhubani painting borders are patterned lines or bands used to define and frame the painted area. They can be made with geometric shapes, dots, lines, flowers, leaves, fish, and other repeated motifs.
What is the significance of borders in Madhubani painting?
Traditionally, borders helped define the limits of the painted space, particularly in ritual paintings. They separated the central imagery from the surrounding wall or surface and helped visually contain the composition.
What shapes are commonly used in Madhubani borders?
Common building blocks include triangles, circles, semicircles, arches, squares, diamonds, leaves, flowers, and waves. You can repeat these shapes and decorate them with lines, dots, smaller shapes, or color.
What are some easy Madhubani borders for beginners?
Triangles, circles, waves, dots, and simple leaf patterns are good places to start. They allow you to practice repetition, spacing, and filling before moving on to more detailed motifs.
How do you make a simple Madhubani border?
Start with a basic shape or motif and create one repeat unit. Outline it, decorate it with lines, dots, or smaller shapes, and then repeat it at consistent intervals along the border.
What makes a Madhubani border look beautiful?
Consistency is more important than complexity. Similar-sized motifs, even spacing, balanced lines, and a repeating rhythm can make even a simple Madhubani border look polished.
Can I use Madhubani border designs for a project?
Yes. You can use Madhubani border designs for projects around paintings, posters, handmade cards, notebooks, school art projects, and other creative work. Choose a border that complements the central artwork and fits the space you have.
Do I need special tools to draw Madhubani borders?
A pencil, ruler, and a fine liner pen (0.3mm or 0.5mm) are enough to start. Traditional work used natural pigments and bamboo twigs, but a regular fine liner gives you the same clean line for practice.
How wide should a Madhubani border be?
For a beginner project, 1-1.5 cm gives you enough room for detail without overwhelming the center motif. Larger paintings can use a wider border, but it should never take up more space than the center composition.